
Happy SaturYAY!
Hope you’re all having a wonderful weekend so far. I’m really excited to share this project with you. I’ve mentioned in some of my past videos that I’m really getting into mini albums and this is going to be my first December Daily. This project was inspired by a video Crate Paper posted last year and though I put mine together a little differently, I will follow their measurements. As this is a bit new to me, I thought I’d take you through the full process start to finish so you can create one with me if you’d like. Today I’ll start by actually making the album, hinges for the pages and covers for the inside. In the next few videos, we’ll add and decorate some of the pages and then finish up by decorating the cover. As the month of December moves by, I plan to pop back in and show you how I’ve added in my memories, photos, and decorations. For now… let’s get started:
Here are some photos and measurements:

The paper is 11 x 17, the chipboard sides for the album are 6.5 wide and 8.5 tall, and the chipboard spine is 2 wide by 8.5 tall. I started by adding the spine in the center and then placed each side leaving about a 1/8 inch space between them to allow for the fold.

To create the hinge you’ll need cardstock trimmed to 10 wide by 8.5 tall. Start your first score line at the 1.5-inch mark and then score at a half-inch 14 more times (for a total of 15 score lines) you will have another 1.5 inches left after the last scoreline. You will then fold the score lines to create 5 hinges – it’s easiest to refer to the video for this.

This is what my album looks like so far, tomorrow we’ll add in some of the pages!
Here is a sneaky peek of tomorrow’s video:
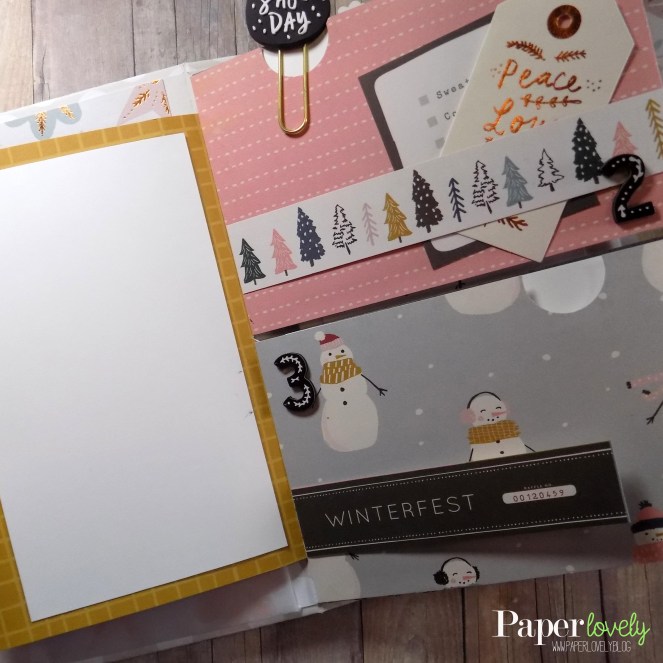

Thanks so much for stopping by today! xoxo, Sarah
