
Hi-ya,
Happy Friday! I don’t know about you, but these short weeks after a long weekend seem to crawl by for me. Probably because I’m playing so much catch up from being off the extra day. I’ll still take the long weekends though 🙂
Today I’m sharing Part 1 of my 10C1K using the Spellbinders August Kit. I loved the sloth die-cut and can see myself using that one a lot more. It was detailed but didn’t take forever to put together which I LOVED. The colors are really pretty this month too, pinks, purples, mint and the copper foiling. This kit continues to blow me away, they include so much, I could’ve made another 20 cards probably…if only I had the time. Here is what I came up with:
Here are your still shots:
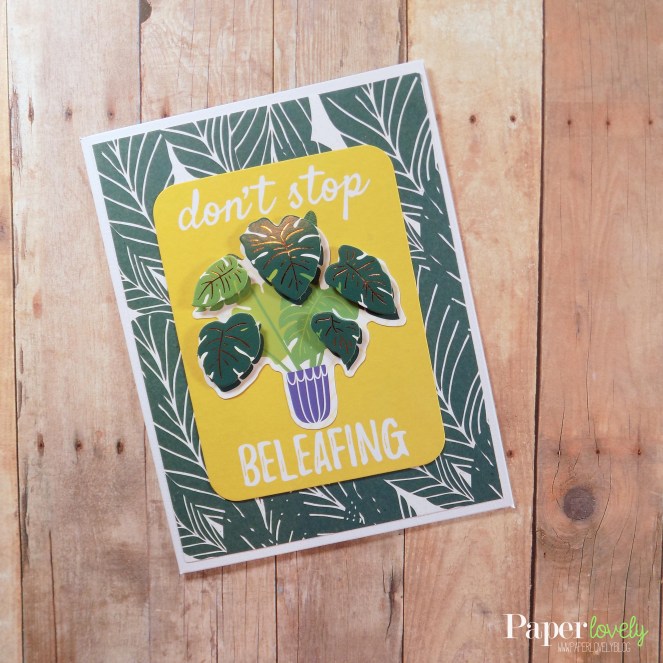
I mean…you knew this card was coming. Puns will always win me over. Kept this really simple, pattern paper, layered with a PL card and then a dimensional sticker on top. I wish they included those types of stickers in every pack – next to the ephemera they are my favorite!

One of the ephemera phrases and stripe of paper to bring in a bit more of that yellow and that will finish off the inside.


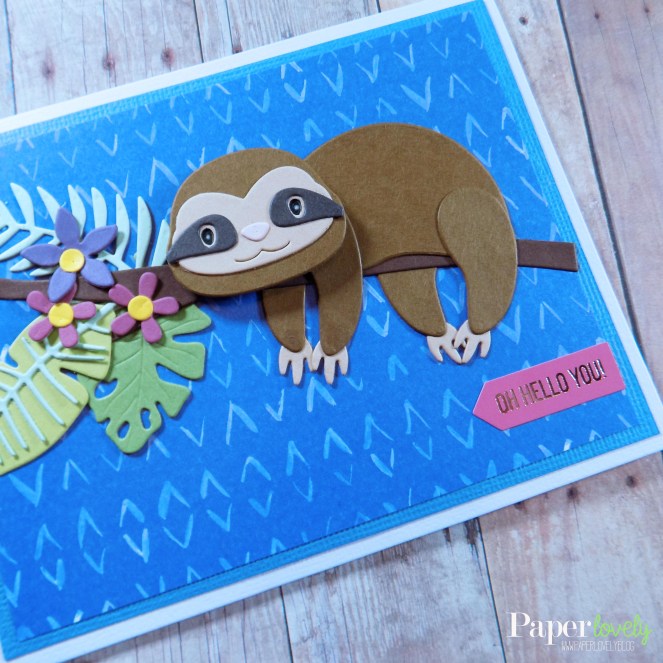
Oh my gosh, I LOVE him! And he was so much fun to put together. I simply glued everything and then popped up his head with a foam dot for some dimension.

I loved the leaves in this set too – they are a great size and I’m sure I’ll use them for more cards in the future. I stamped the sentiment with Lawn Fawn Deep Sea Ink and then added a strip over the leaves to pull in a little more pink from that sentiment on the front.

This was my favorite pattern paper – I’m really loving a pink and navy combo lately. I trimmed down one of the ephemera pieces, layered on a leaf and then popped another of the dimensional stickers on top to create my little cluster.

I love that SB includes really different sentiments – and so many of them are encouraging. I wouldn’t necessarily think of a sentiment like this on my own but some of them work really exceptionally well together.


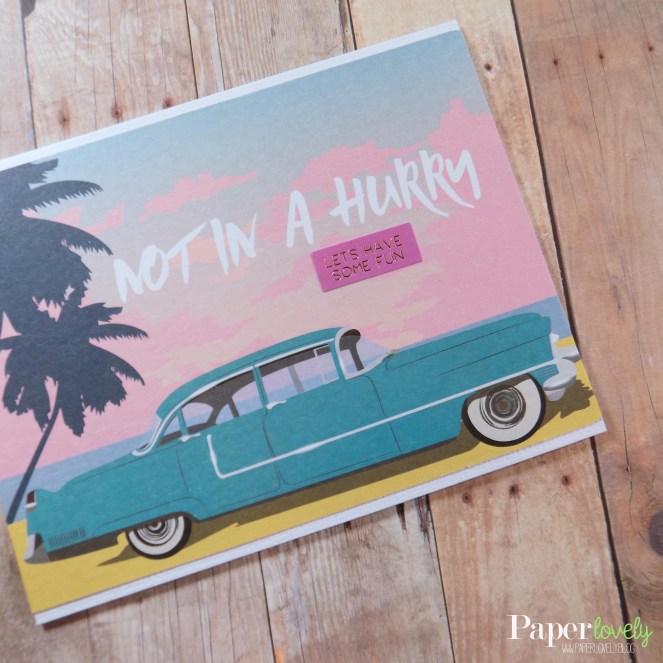
I so love this card – and I want that car! I kept this really simple just added the PL card to the base and popped a sticker on top.

Finished up here with another sticker sentiment and a strip of pattern paper to bring in more colors from the front.

Lastly, I’ve created another cluster – a few leaves and flower glued on top of a yellow cardstock stripe and then I popped up the sentiment for a little dimension.

Again, finishing up here with a sticker sentiment and pulling in some of the pink from the front with a stripe at the bottom.

Thanks so much for stopping by today – hope I was able to give you some ideas to use with your kit. xoxo, Sarah
